Artwork guidelines: How to prepare files for printing
Promotional materials can be a very useful investment to make, but when you're designing your own pieces to show off your services and products, you'll need to focus on the artwork you send to print.
More commonly than not, the types of files given to printing companies can be too low-quality, which means the final product is then impacted. This can result in a re-do of the materials at the cost to the customer, as well as waste of good resources, so you'll want to ensure you know how to perfectly prepare your files for print.
In this guide, we'll be discussing how to prepare your image files for digital printing, screen printing, and more. We'll cover:
- File terminology to know
- How to prepare files for print
- Custom Planet print guidelines
- Screen printing artwork guidelines
- Digital printing artwork guidelines
- Embroidery artwork guidelines
File terminology to know
If you're thinking about creating your own customised clothing or other promotional products, it's likely you'll want to add either a logo or an image to make them truly yours. And while different printing service providers will all have slightly differing guidelines, there are some terms most will use, and that you will need to understand. We will be explaining these below.
- Pixel – The unit of measurement for digital images on a screen.
- Pixel dimensions – The total number of pixels that make up a digital image's width and height.
- Image file size – The amount of space your file takes up on a drive or desk. This will be measured in bytes or megabytes. In general, an image file size should not exceed 200MB as this could require resizing which can impact the quality. However, each printing service provider will have their own rules for this.
- Print size – The width and height measurements of the image once it's been printed onto the product. This is typically measured in centimetres or inches.
- DPI (dots per inch) – This is calculated using the digital image dimensions and image size. In essence, the higher the DPI, the more dots, and therefore the better image quality. A lower DPI will mean a poorer image quality.
- PPI (pixels per inch) – This is the measure of resolution in a digital image as it's displayed on a computer, TV screen, or other electronic device.
- Resolution – This refers to the density of pixels in an image. For digital images, the resolution is expressed in PPI (pixels per inch), whereas it's referred to in dots per inch (DPI) for printed images.
How to prepare files for print
Now you're familiar with the terminology, you can begin preparing your files to send to us for printing. Please note that there may be slightly different guidelines for each of the printing or embroidery techniques we offer. However, you can use the below as a comprehensive checklist to ensure all of your files are suitable for printing.
Finetune your resolution
All of your images should have a good resolution of at least 300 dpi (dots per inch). Any lower and you'll run the risk of having blurry images printed onto your products. If we think the DPI of your image is too low, we will consult with you before printing it, to ensure you get the best results first time round.
Inspect your file size and dimensions
To make sure your custom products come out looking the way you want them to, it's important that you take a look at the file size to make sure it's sized correctly for output. For example, if you're wanting the image size to be printed 3" x 4", you'll need to make sure the file is actually sized to those dimensions.
If you are having trouble getting this sized right, you can send us your original image and let us know the exact dimensions and we can resize this for you.
Use the CMYK colour space
The colour space used in the printing process is referred to as CMYK (cyan, magenta, yellow, and key). Any printer will use dots of ink to make up the image you've submitted using only these colours. So, it's always best to submit files using CMYK to ensure the best possible output. However, if you're unable to do this, we will be able to convert it.
Note: Key refers to the colour black.
Consider adding crop marks
Crop marks (also known as trim marks) are dotted lines that are printed at the borders of your image or logo to show the printer where to trim the design. They are used to signal when an image or colour needs to extend to the end of the item it's being printed on.
Please note that not all printing services will require this, and usually they are stated in the company's guidelines. So, be sure to ask before submitting your final design.
Mark out safe and bleed zones
Your image will need bleed zones if you want the print to extend to the edge of the T-shirt, sweatshirt, bag, or any other promotional product you're planning to print on. If the project will involve cutting, or you have crop marks, you'll also need to make sure you mark out 'safe zones' to make sure any text or imagery won't be cut off when it's trimmed down.
Send any text as an outline
We would always advise that you send any text over as outlines or curves. This will help to preserve the shapes of the characters when they're printed onto your promotional items. If you are sending anything created on Word, Publisher, Photoshop, Illustrator, or inDesign, then you'll need to also send any font files to be used.
Double check your spelling
Perhaps one of the most important checks you'll need to conduct: a spell check! The company creating your custom printed products will have to follow exactly what you've given them, whether they think a word is wrong or not. While we will try to double check with you if we're unsure on the spelling of something on your file submission, sometimes companies won't have time and will print exactly what they've been sent.
It is the customer's responsibility to check the image is exactly how it should be and reads properly. Failing to do so could mean your order needs reprinting and another payment will need to be made. This waste of materials is never ideal, especially if you're hoping to execute a green marketing strategy.
Make sure you're entitled to use the image content
Many people get confused about what imagery they are actually allowed to use, so it's very important to double check that the content you're bringing to print isn't copyrighted. Even photos widely available to us e.g. through Google Images, are copyrighted. So, look out for copyrights — even if you're using photos from a professional photographer, as you will need to get their permission to reuse their content, whether you paid for it or not.
Convert your file to be print-ready
Different printers will accept different file formats, however PDF files are typically the most compatible with all types of printers. This is the ideal for files that are going to be printed as they most closely reflect what the actual outcome will be. If you are unable to save your design as a PDF, you could use free software that'll do it for you, such as the converter from PrimoPDF.
Although PDF are the most universal file type for printing, there are others which will be accepted depending on the printing or embroidery service you're looking at. We will be discussing this later.
Custom Planet artwork guidelines
Here at Custom Planet, we have a couple of artwork guidelines dependant on which of our printing services your promotional items are made using. While we always want to give you exactly what you want, we will always want to see your artwork prior to printing and sometimes we will have to make some suggestions to make it work as best we can. For example, this could include reducing the amount of colours to make a certain print method work, or changing to a different printing type to get your promotional products to as close to the desired finish as you want them.
Below, we will be outlining the guidelines you'll need to take into consideration for each print method.
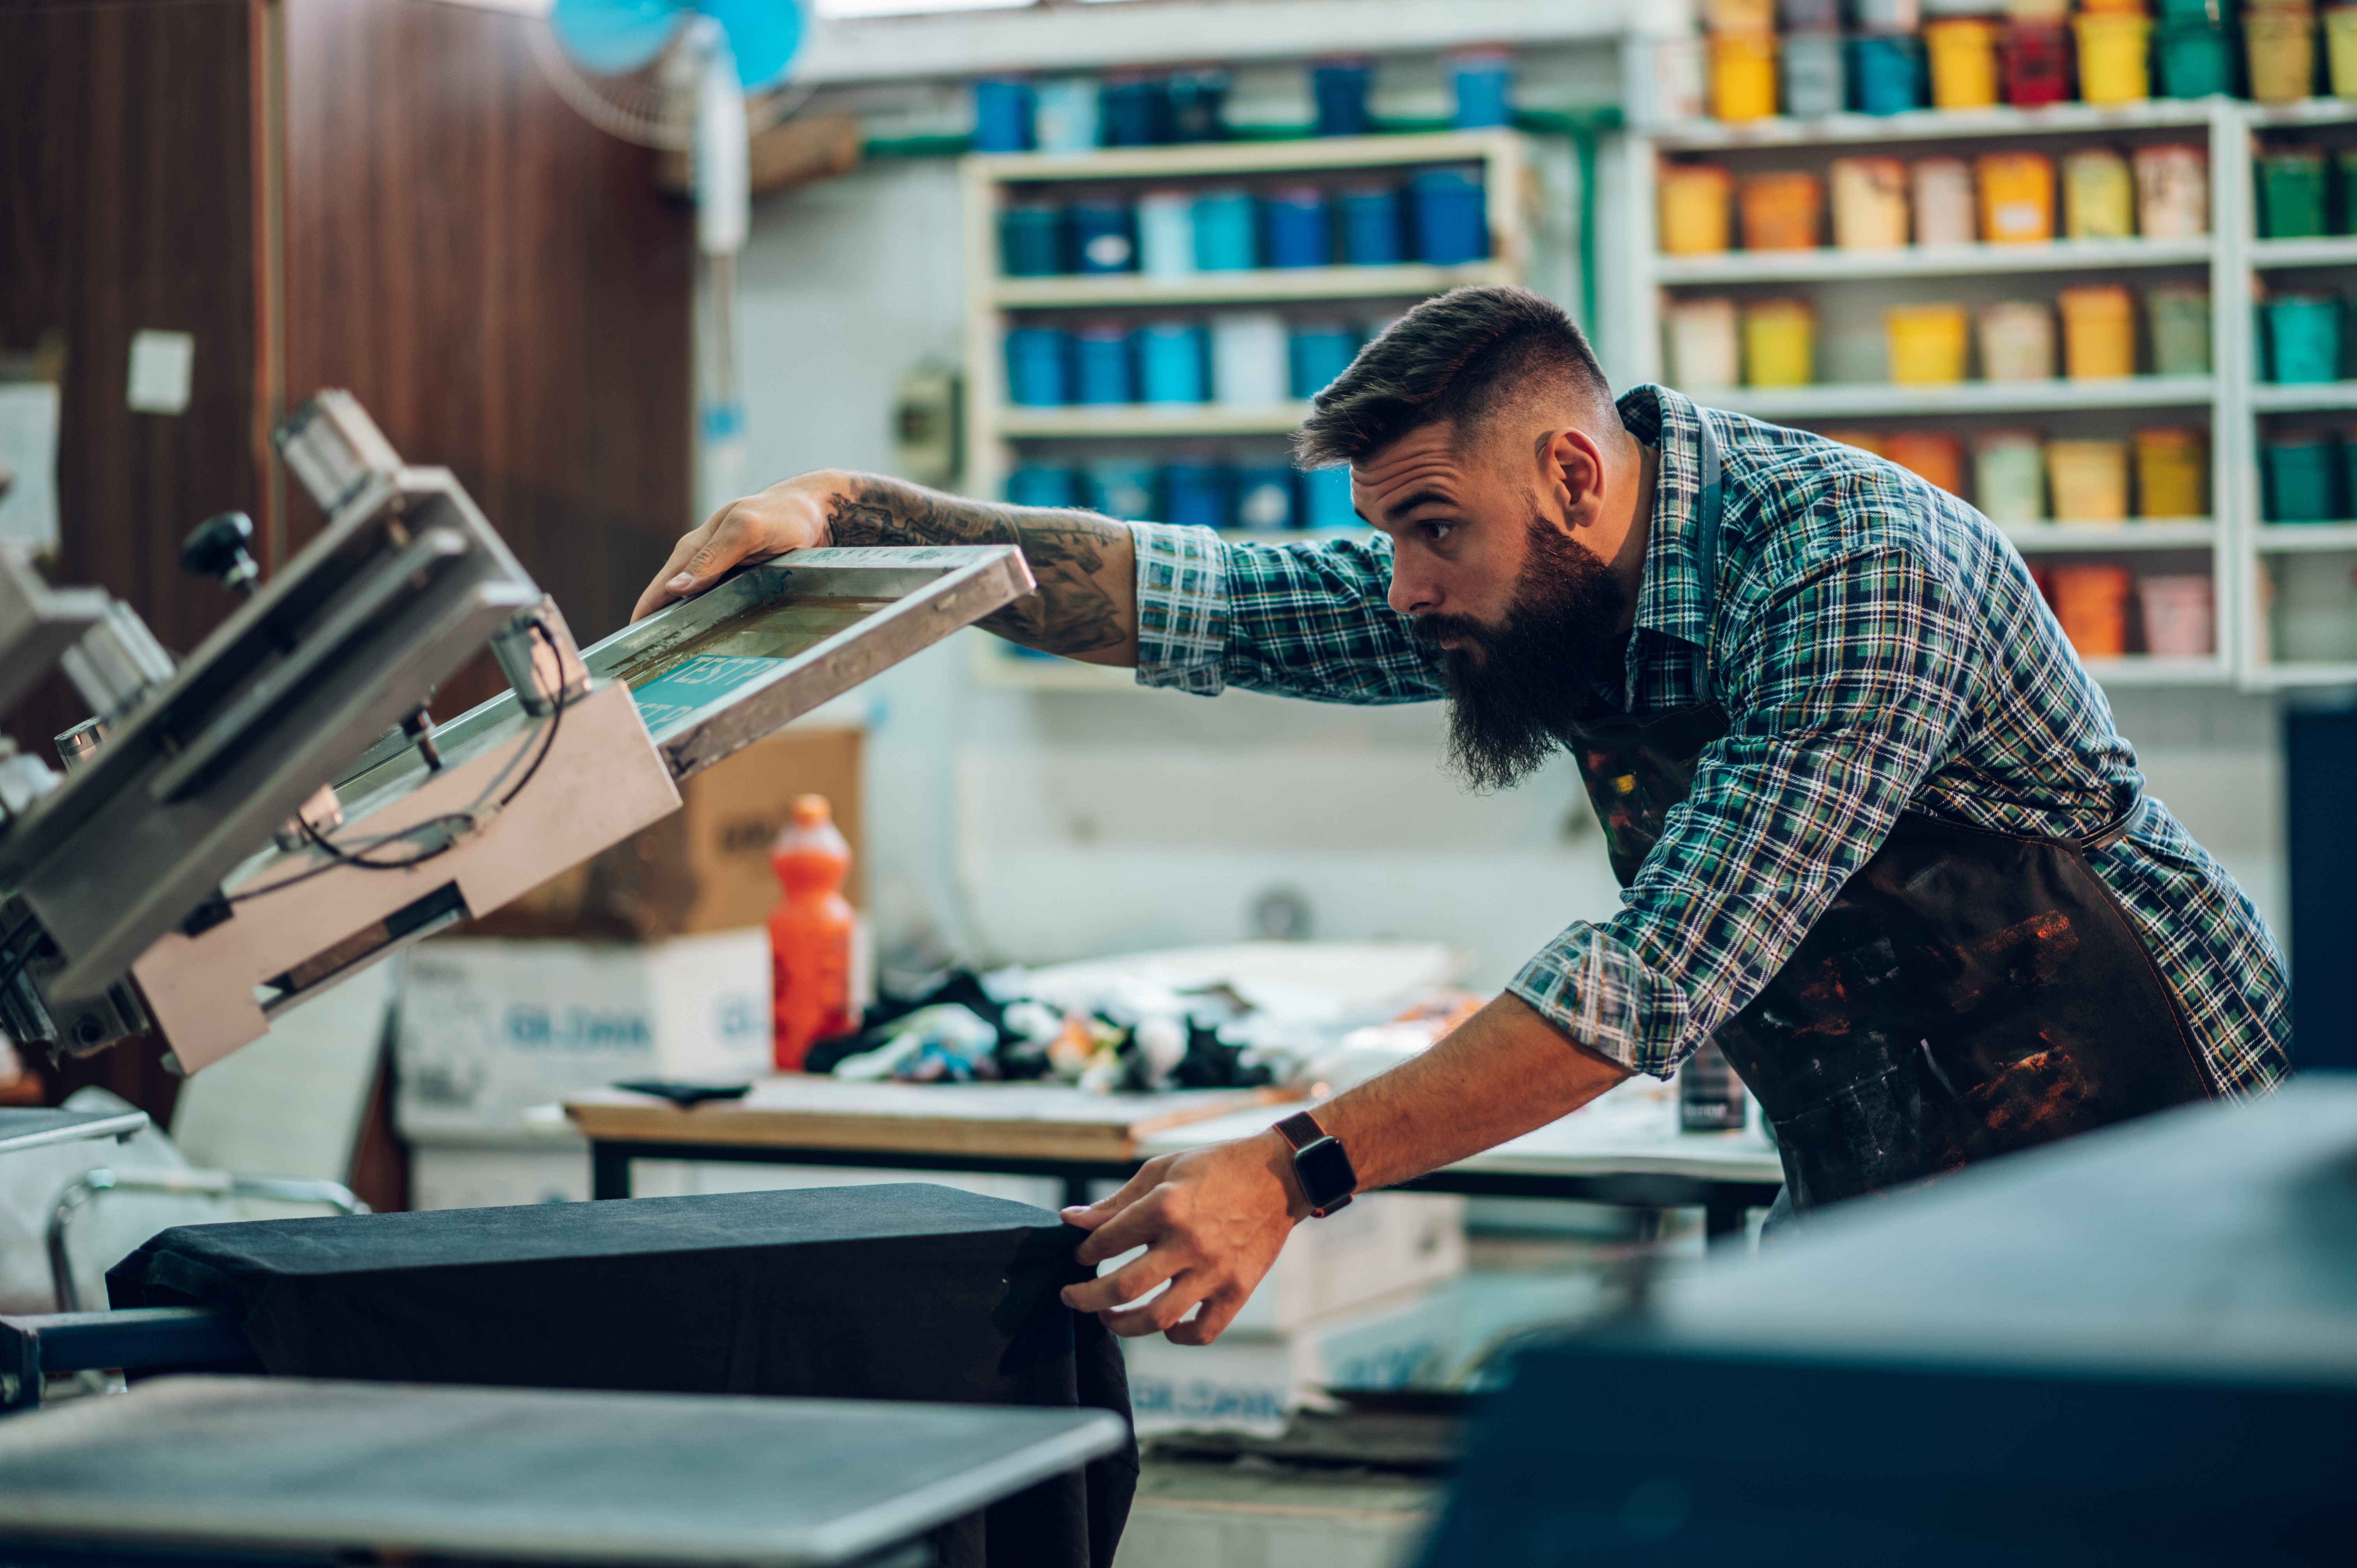
Screen printing artwork guidelines
Screen printing is the most popular (and suitable!) process for T-shirt printing — particularly if it's a batch order. This is because they wash well and means the clothing is able to maintain its quality for years to come. You can find out more about the process and benefits in our step-by-step guide to screen printing.
But what type of file is needed for screen printing? If you are submitting a multicoloured image to be printed, we will require it to be in vector format, drawn up in either Illustrator or CorelDraw. These files will be in .AI, .eps, or sometimes even .pdf formats. To ensure your PDF file is suitable for screen printing, we advise zooming in very close to the image and seeing if it pixelates or not: if it's the latter, then it's usually fit for screen printing, although we can recommend any changes when we receive the file.
If you've got single coloured artwork, that wouldn't need an underbase colour (such as black being printed onto white cotton) we can use high-quality general artwork. Please note that as well as the colour you want your image printed in, you will also need to supply us with a black copy.
In terms of the measurement requirements, you will need to ensure the artwork you submit to us is the exact same size as you want it to be at the time of printing. For example, if you want your photo to be printed to be 200mm wide, the image you send us will also need to be 200mm wide. For lines, you'll need to ensure that the minimum acceptable width of these is 0.5mm but could vary depending on the garment chosen for customising. In all cases, if there's going to be an issue, we will discuss it with you before we go ahead.
In addition to the above, we will also require your image for screen printing to be of a high resolution for printing (300DPI). If you are submitting vector artwork, this doesn't need to be saved at a particular resolution, as we can shrink or enlarge this ourselves without loss of quality, as well as making any amendments to get a quality print. Should you be unsure about the resolution, you can always submit the image to us, and we will be able to check this for you.
These single colour artwork files will be accepted in .pdf, .psd, .jpg, .tiff, and .png if the image remains clear when you zoom in closely.
If you're interested in, or have any questions about our screen printing service, contact our team today for a consultation.
Digital printing artwork guidelines
We offer three different types of digital printing, which mean you will have plenty of choice when it comes to getting your garments made and is specifically effective for T-shirt printing. For more information on the processes, please visit our digital printing service page, and read on to learn about the guidelines for each. Or read on to find out how to prepare files for digital printing techniques.
Digital transfer
There are certain items like bags that can be difficult to get screen printed, but luckily these can be done with a digital transfer process. In essence what happens is that the designs you provide are printed and cut from vinyl that is then heat pressed onto whatever garment you want.
While poor iron on transfers have given this type of digital printing a bad name, we can guarantee digital transfer is a tried and tested method that creates exceptionally high-quality results by professional digital printers and plotters.
When designs include thin lines, we'd recommend you check these are no thinner than 0.5mm–1mm as these may not transfer very well. If we spot anything that we think won't come out as you desire, we'll advise on it before we get to work.
Vinyl printing
Vinyl printing relies on a computer-controlled blade which will digitally cut your desired design out of vinyl so it can be applied to items like sports kit and teamwear, as well as kids' clothes and school uniforms and leavers' hoodies. It can even make great hen or stag paraphernalia if used on T-shirts, sweatshirts, or hoodies.
If this is the best form of printing for your promotional items, we will require vector artwork as nothing else will be compatible with the guided blade. These files should be send to us in either .AI, .eps, or maybe .pdf if the image is still clear when you zoom in closely.
If your design includes thin lines, we would estimate these should be around 0.5mm–1mm and no thinner as this may not print as well as you desire. However, should we spot an issue before printing or while printing, we can advise on a thicker line style.
DTG (direct to garment) printing
Direct to garment is a method where the printer will apply the ink directly to the garment you're wishing to customise, using inkjet technology. This technique uses special inks that are absorbed by the fibres of the garment, which means the colours won't bleed or fade when you wash them.
With DTG, we're able to produce full colour designs to be printed onto a range of clothing for a very vibrant and colourful finish. So, whether your design is one tone, or includes lots of shading, DTG is a good printing option to achieve your desired look. Plus, with no setup charge, this printing technique is an affordable way to achieving designs that were previously best suited for screen printing, without the expense. So, whether you're looking to create and sell band merchandise, or create a staff uniform to improve your customer service, direct to garment printing is a good route to go down.
The DTG process is compatible with almost any file type, but we ideally need it to have a transparent background. This means you'll usually need to send across a vector file — .Ai, .eps, .pds or any other file type that doesn't pixelate when you zoom in. We are also able to use files that can be saved with a clear background including .png, and, .pdf file formats — but you will need to ensure they're high-quality, sent over in the exact sizing you want them printed in, and have a resolution of at least 300 dpi. Any slim lines on your design should be checked to ensure they're not thinner than 0.5mm–1mm as this may be too thin for the printer to identify or print accurately.
Please note that there are some things to be aware of when printing a T-shirt without a clear background. For example, if we are printing white T-shirts, the software will remove all the white from the print, and the same will happen with black when printing onto black T-shirts. This means an image with a white background can be printed onto a white T-shirt, but for a black one, the same artwork will print with a white background included. So, it's important to double check you've submitted designs with a clear background only.
Embroidery artwork guidelines
Embroidery is an alternative to digital printing techniques, and can be sometimes preferred for items that'll regularly need washing or will experience a fair bit of wear and tear — such as kids' clothes and school uniforms, workwear and chefswear.
The logo or design you submit will be converted to stitch data and embroidery will begin. When creating your design, you'll want to think about the following:
- The position of stitches in the design
- The number of stitches in your logo: Most small logos have under 10,000 stitches, while larger ones can range up to 20,000–40,000 stitches. Be aware that the number of colours in each design doesn't usually affect the cost of embroidery as there will be a setup cost per logo — in our case, this'll be £20.
If you have an intricate design which features many fine lines, you'll want to consider what type of stitch will be used for these as it can dictate how thin the lines can be. For example, running stitch gives a much thinner line and may not look as desired if used in the wrong place. On the other hand, satin stitch is a more solid line but shouldn't be any thinner than 1mm. If our printing team suspects there'll be a problem, we'll get in touch to discuss other avenues to get your desired finish.
To learn more about this alternative technique, check out our guide to machine embroidery.
Once you've chosen your desired printing technique and had your custom clothing or promotional items brought to life, don't forget about garment finishing additions. This includes adding brand labels on the neck, hem, or sleeve, as well as swing tags and more, to give your promotional goods a professional finish. Here, at Custom Planet, we have a great range of custom clothing and promotional products for you to have printed with your branding and logo — just be sure any design you submit fits the above criteria to get the best results!
If you have any questions about our printing services or would like to get a full and comprehensive quote for your custom goods, don't hesitate to get in touch today. For more inspiration, make sure you check out our other helpful guides including logo design ideas for small businesses, sustainable marketing and branding advice, and much more.